Objective: Perform a backup of Segura to a storage account in Azure.
Prerequisites:
- Access to Azure;
- Permission to create and manage storage accounts and file shares;
- Firewall access from Segura to Azure is allowed.
1. Access your Azure environment.
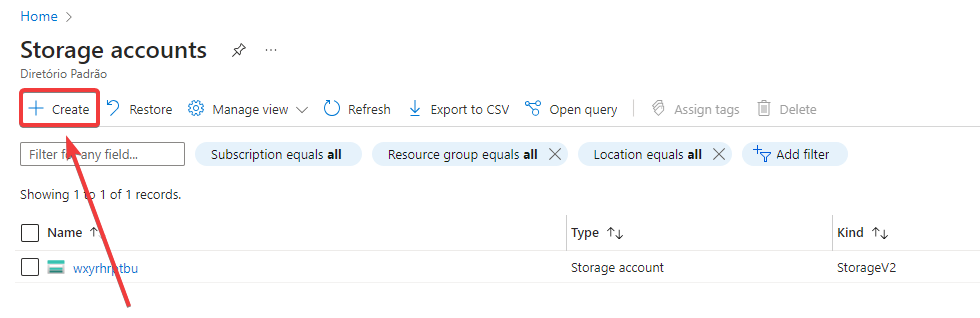
2. Access your Azure storage account.
2.1 – If you don't have a storage account, create one using the instructions in the documentation below:
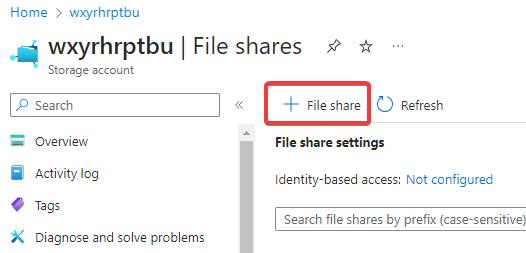
3. After creating your storage account, access it and click on "File Shares".
3.1 – If no file share exists, create one using the link below:
4. Access the "File Share" and obtain the integration script. We need to adjust a few settings in the collected script to ensure it works correctly.
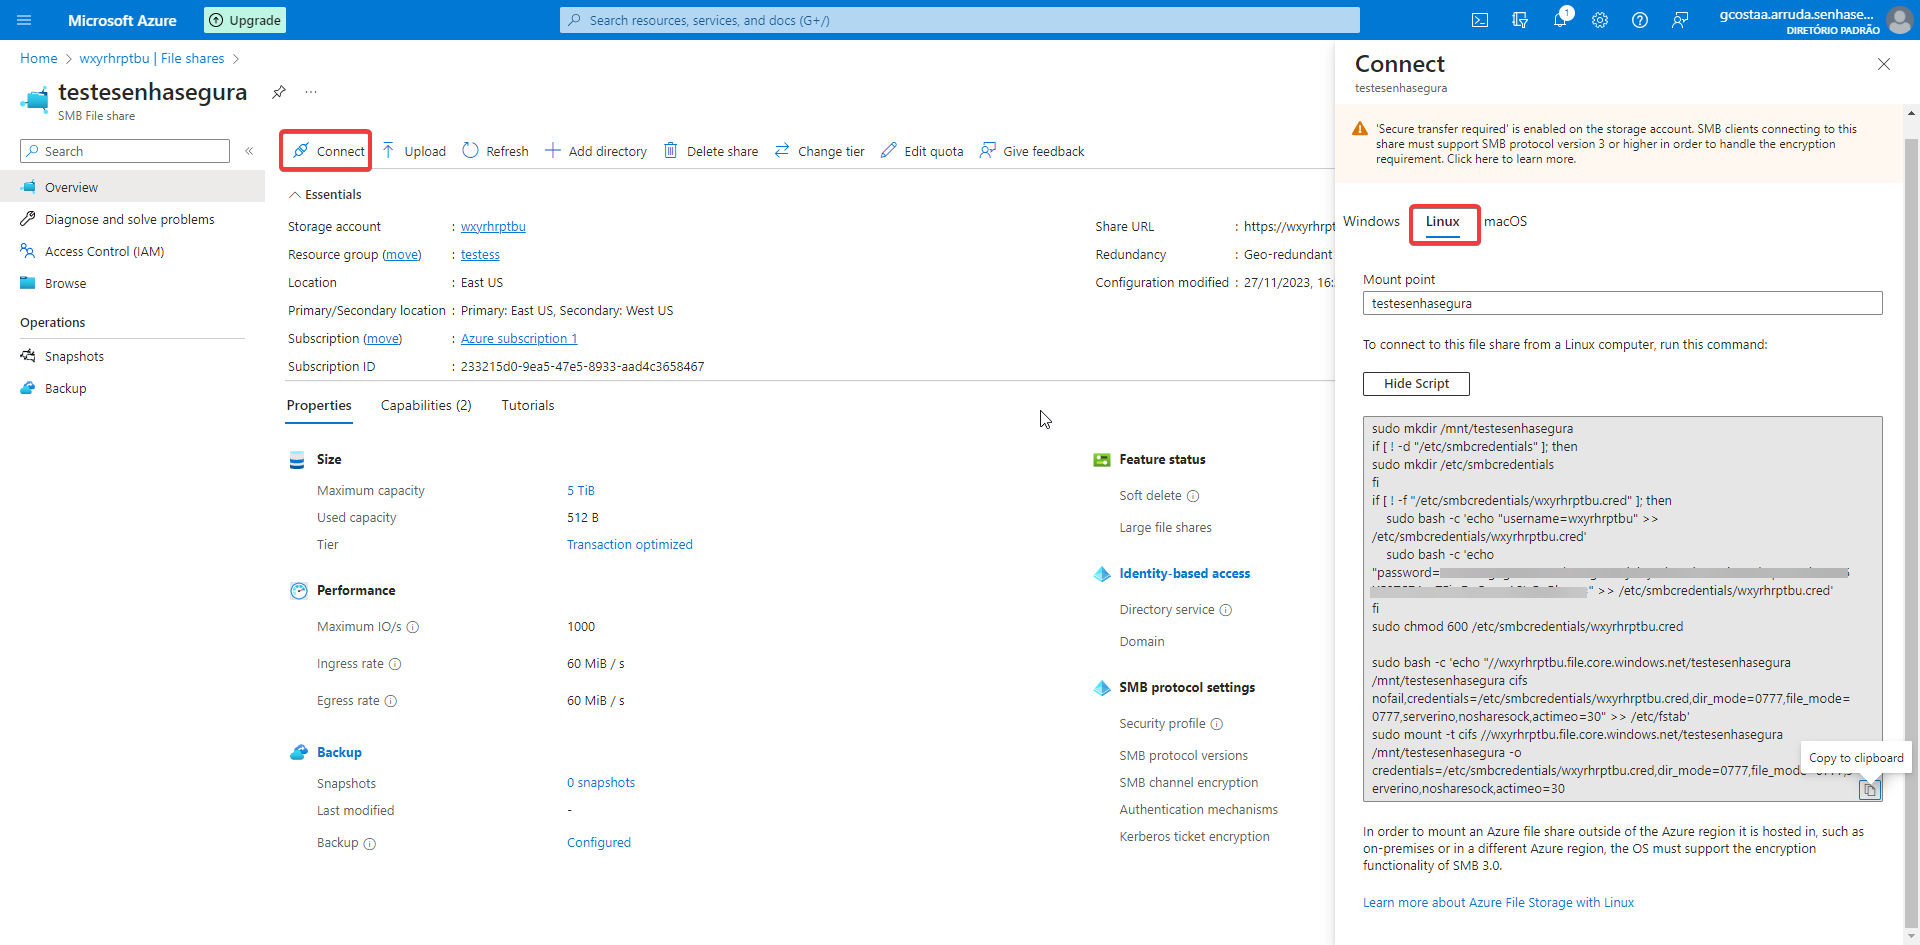
Original script example:
sudo mkdir /mnt/testesenhasegura
if [ ! -d "/etc/smbcredentials" ]; then
sudo mkdir /etc/smbcredentials
fi
if [ ! -f "/etc/smbcredentials/wxyrhrptbu.cred" ]; then
    sudo bash -c 'echo "username=wxyrhrptbu" >> /etc/smbcredentials/wxyrhrptbu.cred'
    sudo bash -c 'echo "password=xxxx" >> /etc/smbcredentials/wxyrhrptbu.cred'
fi
sudo chmod 600 /etc/smbcredentials/wxyrhrptbu.cred

sudo bash -c 'echo "//wxyrhrptbu.file.core.windows.net/testesenhasegura /mnt/testesenhasegura cifs nofail,credentials=/etc/smbcredentials/wxyrhrptbu.cred,dir_mode=0777,file_mode=0777,serverino,nosharesock,actimeo=30" >> /etc/fstab'
sudo mount -t cifs //wxyrhrptbu.file.core.windows.net/testesenhasegura /mnt/testesenhasegura -o credentials=/etc/smbcredentials/wxyrhrptbu.cred,dir_mode=0777,file_mode=0777,serverino,nosharesock,actimeo=30
To properly adjust it, maintain only the content within quotes on the second-to-last line (the configuration line for the backup).
In this line, change all occurrences of “/mnt/testesenhasegura” to “/srv/backup_remoto”.
Final line should look like this:
//wxyrhrptbu.file.core.windows.net/testesenhasegura /srv/backup_remoto cifs nofail,credentials=/etc/smbcredentials/wxyrhrptbu.cred,dir_mode=0777,file_mode=0777,serverino,nosharesock,actimeo=30
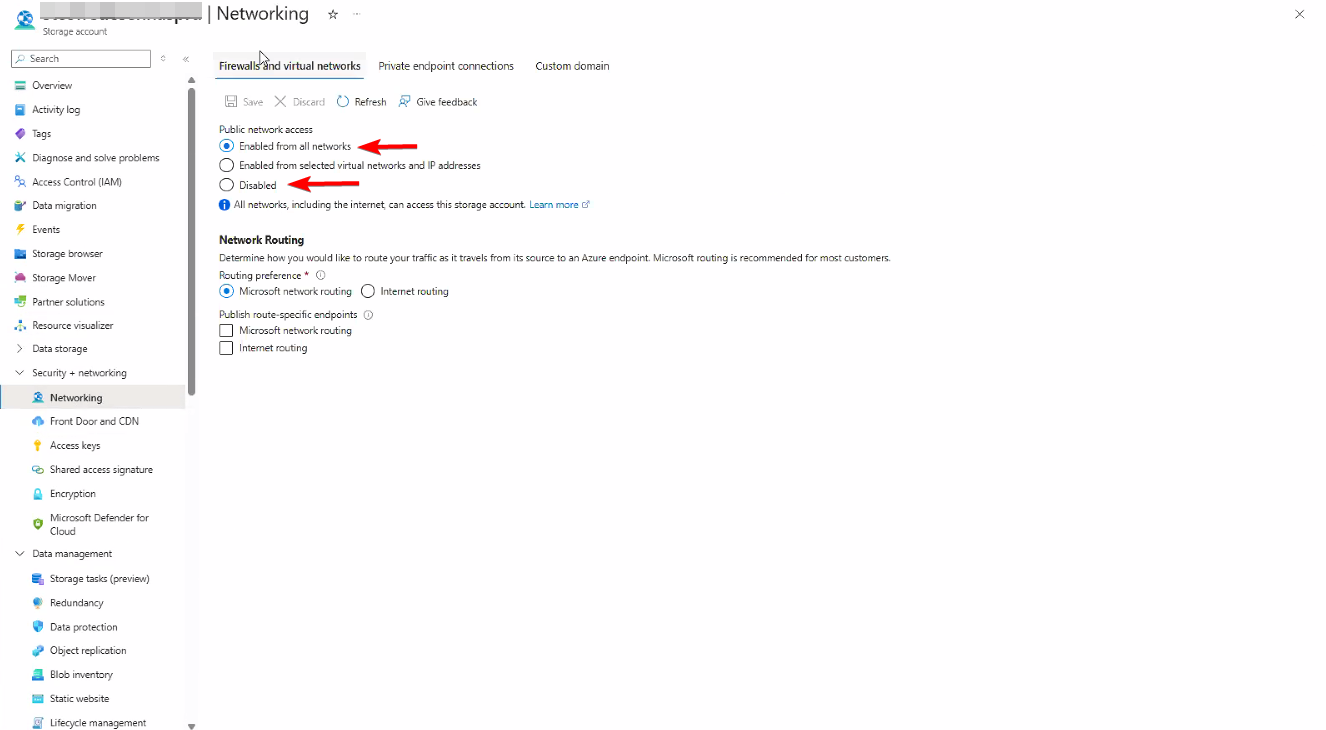
Also check the access rules under the Networking section.
5. Access the Segura server via SSH using your management credentials and appropriate port. Create a file and paste the mount script into it.
6. Manually update the username and password values (these values are found in the downloaded script under the ‘username’ and ‘password’ fields).
vim /root/.smbcred
Press “i” to enter insert mode, then paste using “CTRL + SHIFT + INSERT”.
Press "ESC"to exit insert mode and type “:wq” to save and exit.
You can verify the content using:

7. Paste the previously edited line from step 4 at the end of the file using:
vim /etc/fstab
Press “i” to enter insert mode, then paste using “CTRL + SHIFT + INSERT”.
Press “ESC” to exit insert mode and type “:wq” to save and exit.
8. Run the following command to finalize the mount:
mount -vvv /srv/backup_remoto
9. Validate the mount point using:

After completing these steps, you’ll be able to perform backups of Segura in Azure environments.