It is possible to create new access groups that allow you to manage what users can do, which devices and credentials they can access, as well as the number of approvals required to perform certain actions. To create a new access group, follow these steps:
1. Access the senhasegura Web and go to PAM → Configurations → Access → Access Groups.
A list of all existing access groups will be displayed. To create a new one, click on the “New” button and fill in the necessary settings.

2. In the configuration screen of the new group, enter a name for the group in “Access group name,” leave the group as “Enabled,” and enter a description, if desired.

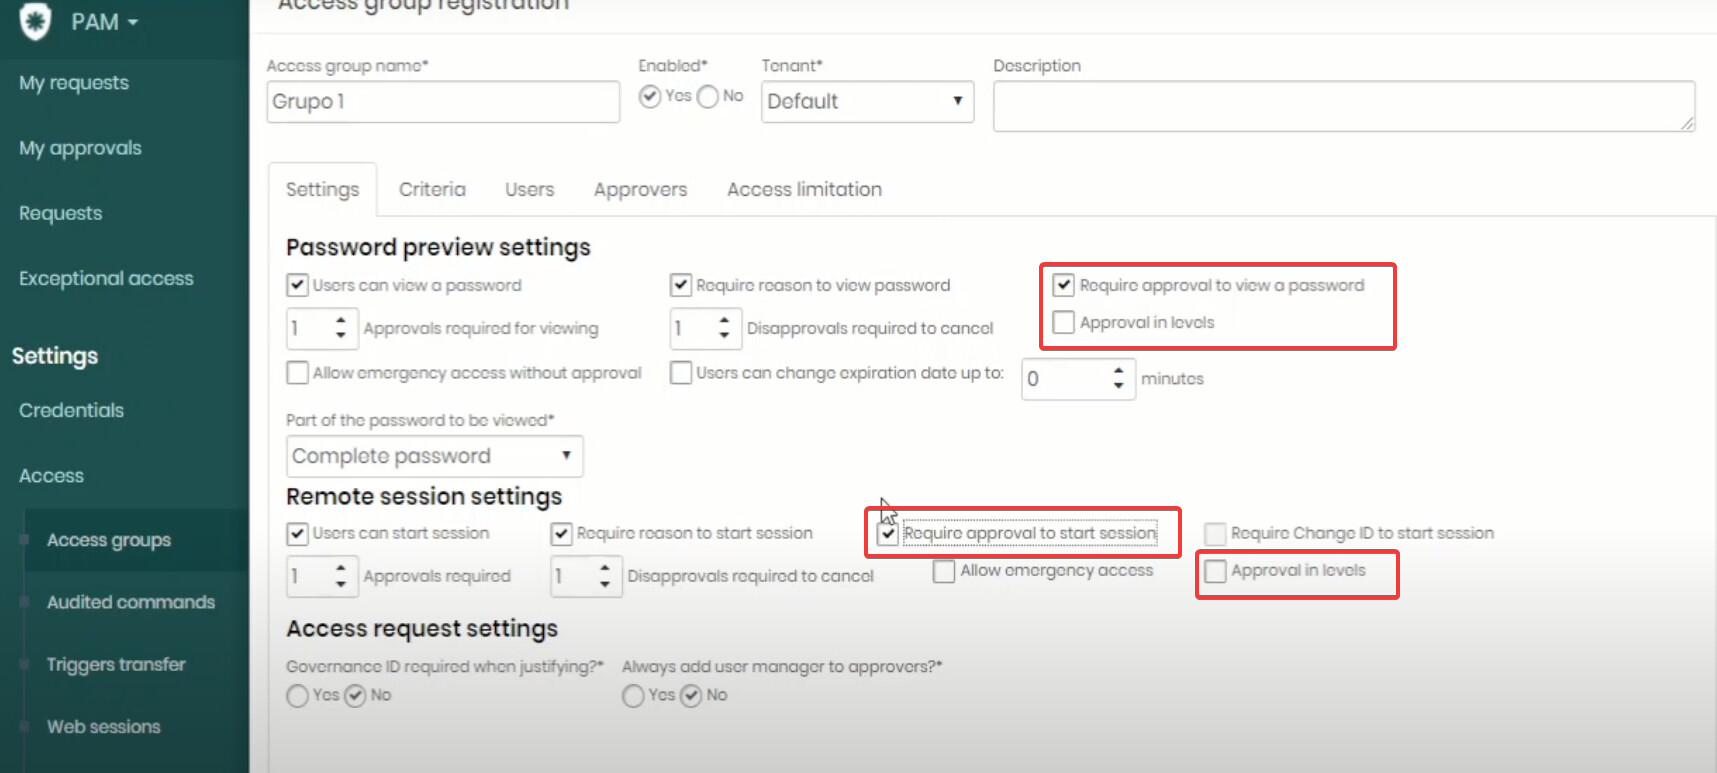
3. In the first configuration tab, define the actions that users can perform, such as viewing passwords and logging in. You can also activate the option to request a reason for that action and/or request approval.
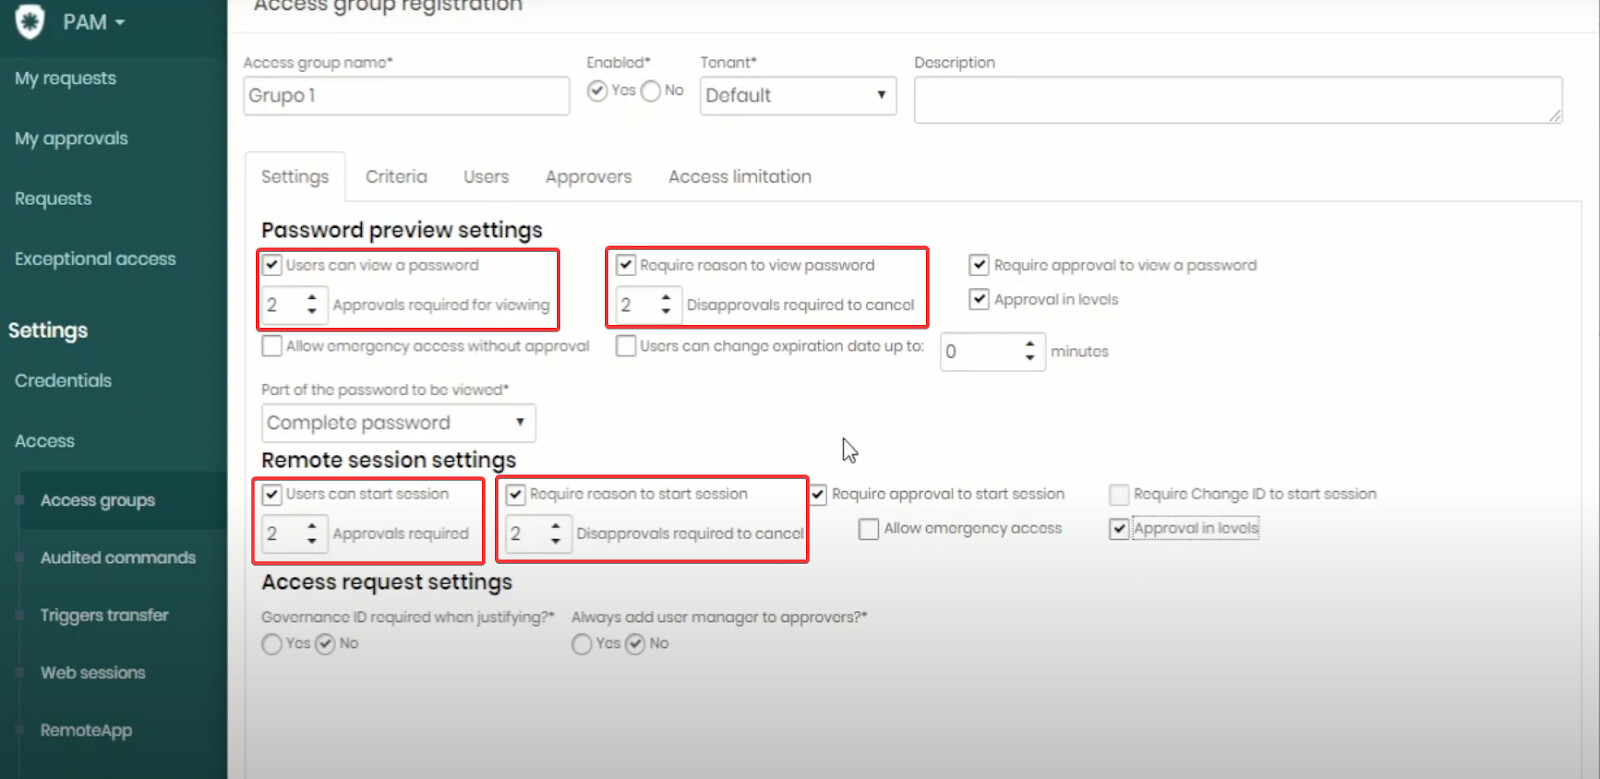
4. Add hierarchy with approval in levels and define the number of approvals required for that action, as well as the number of disapprovals allowed, if desired.
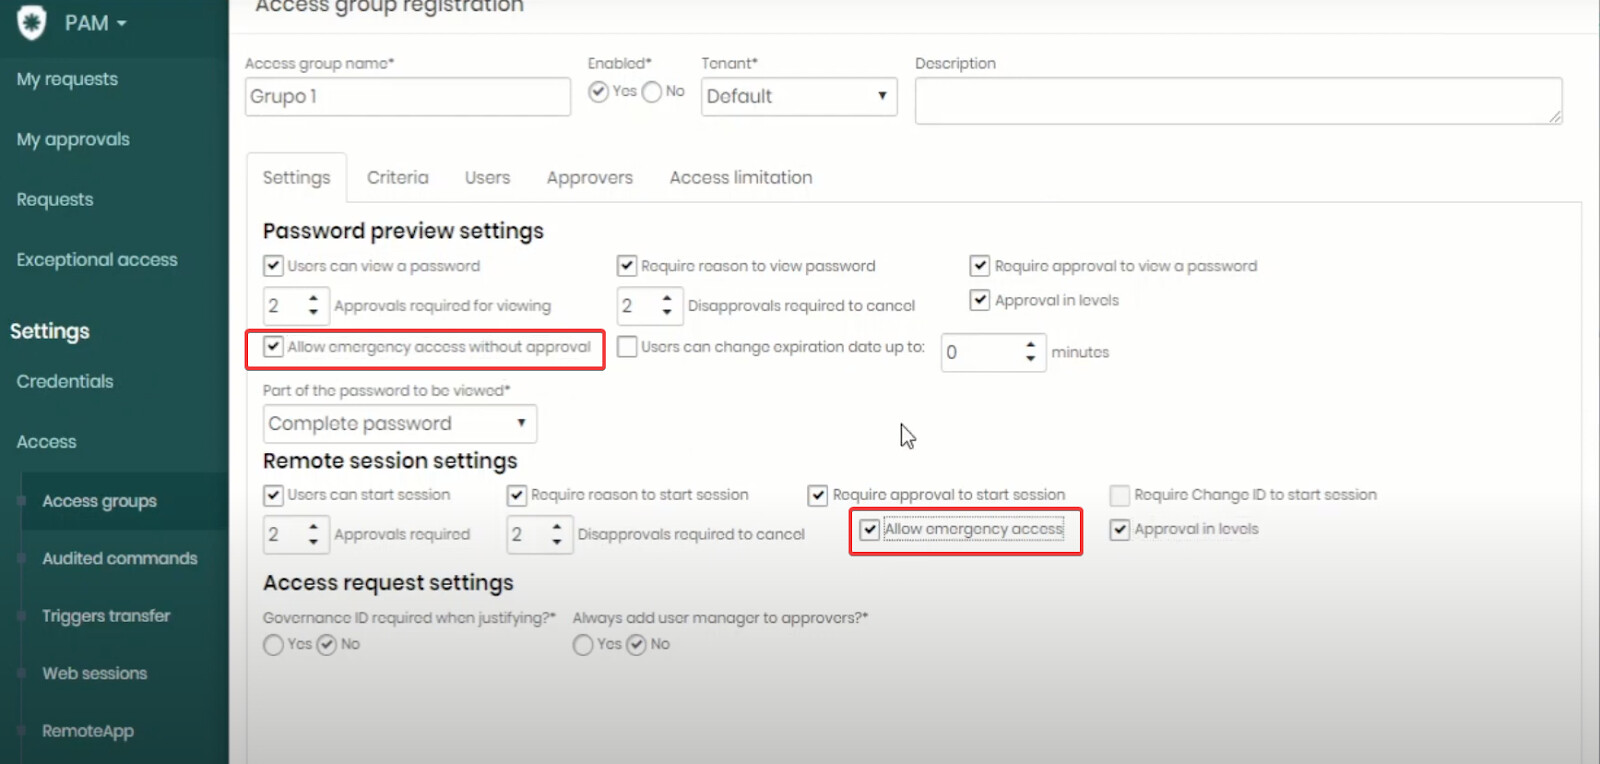
5. Activate emergency access, which allows the user to bypass the steps and access immediately, if desired.
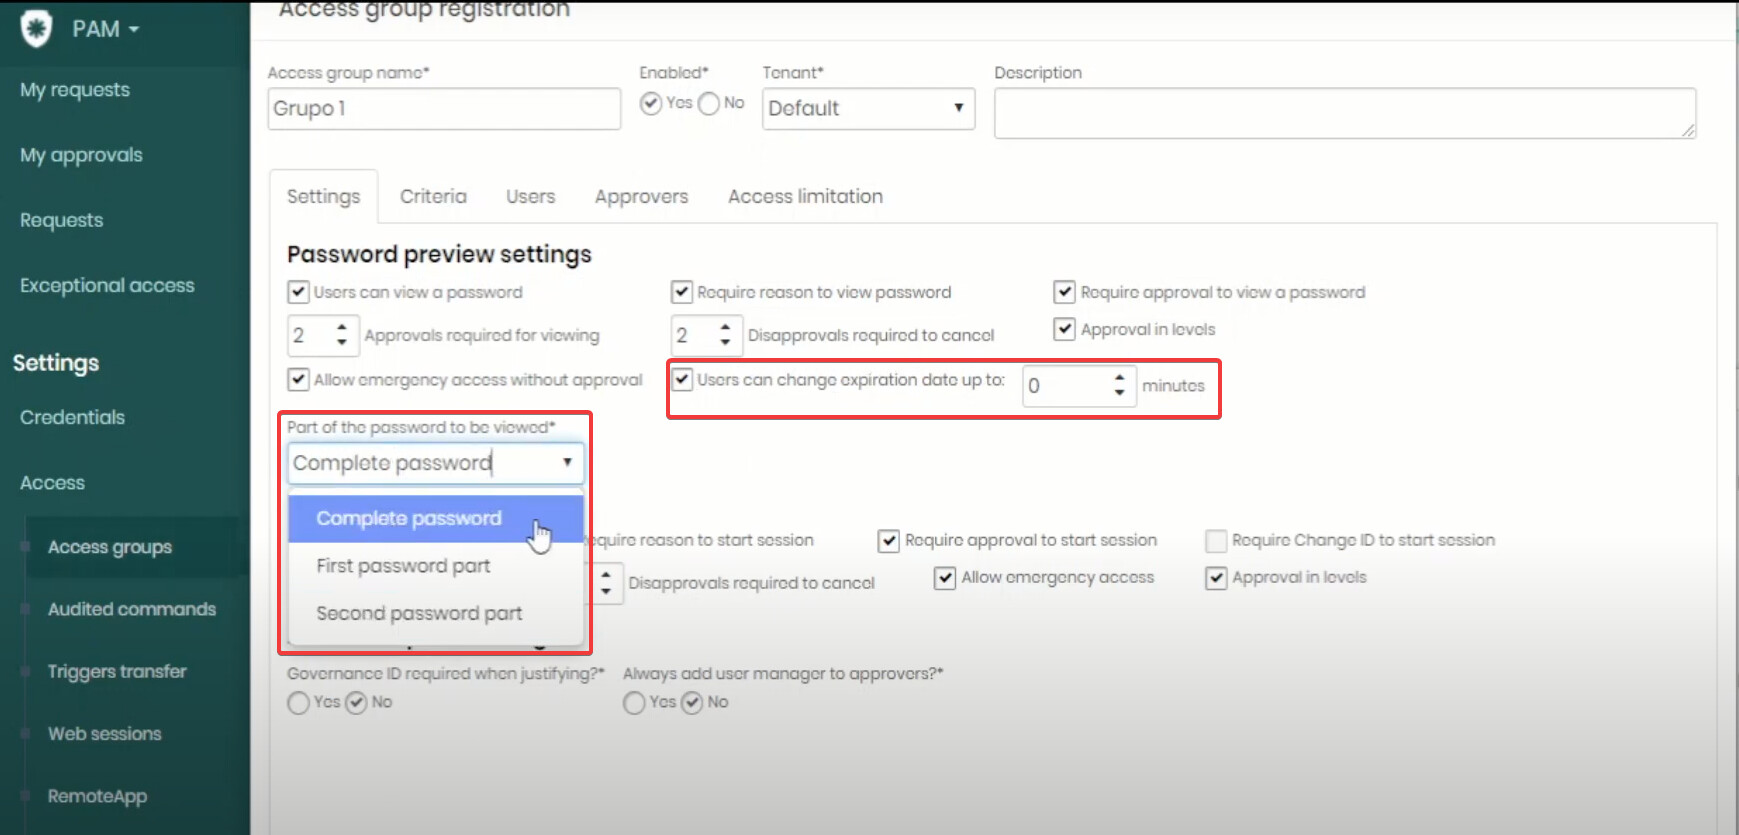
6. Configure the time the user can increase the expiration of the viewed password and in how many parts the user can view the password.
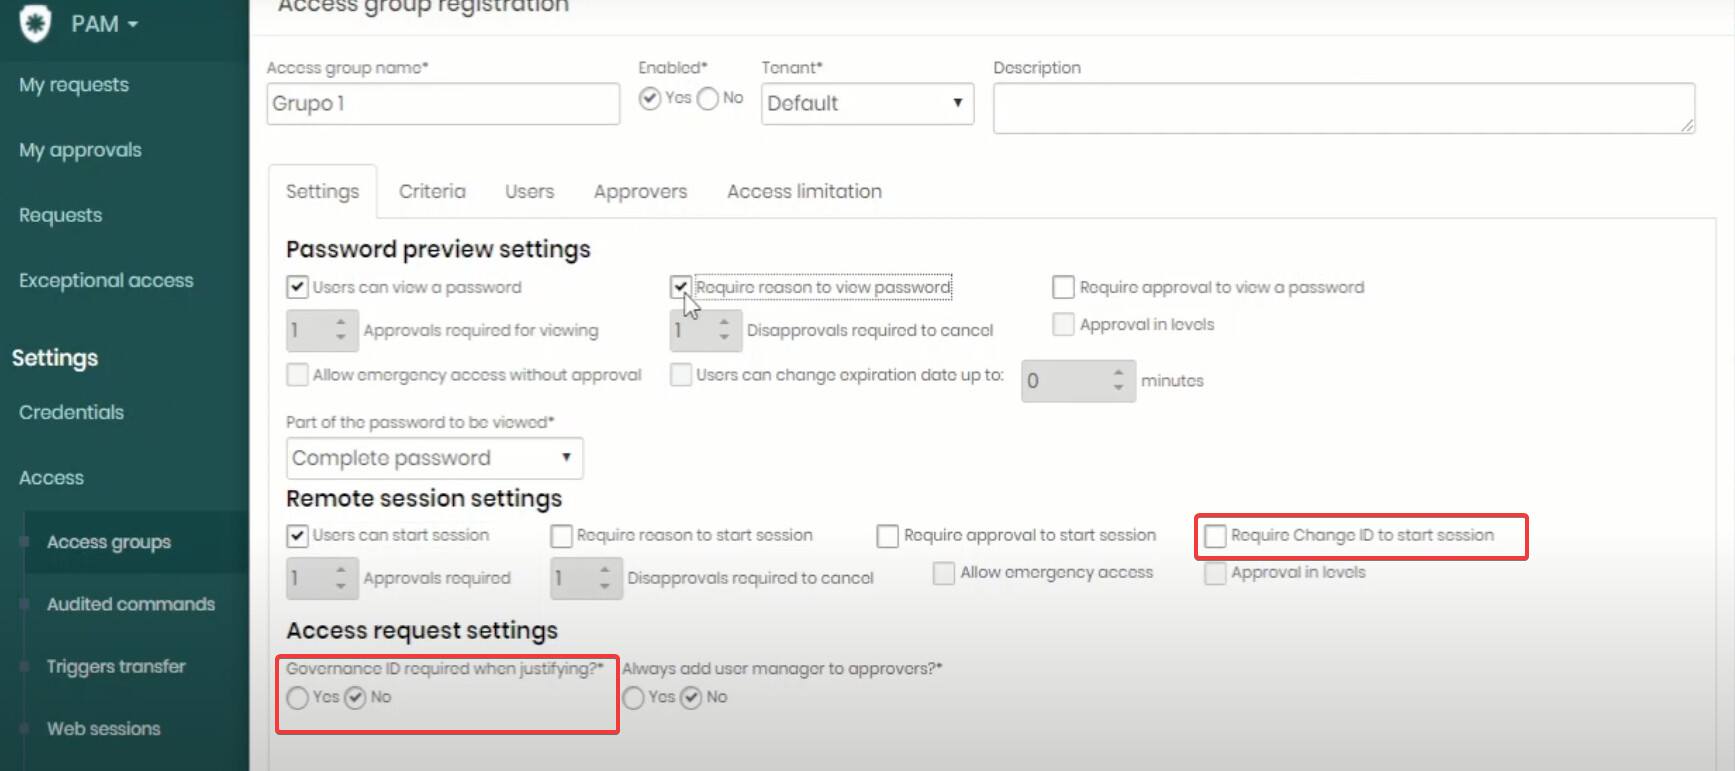
7. You can activate the request for Change ID to log in and determine if Governance ID will be requested with justified users, if desired.
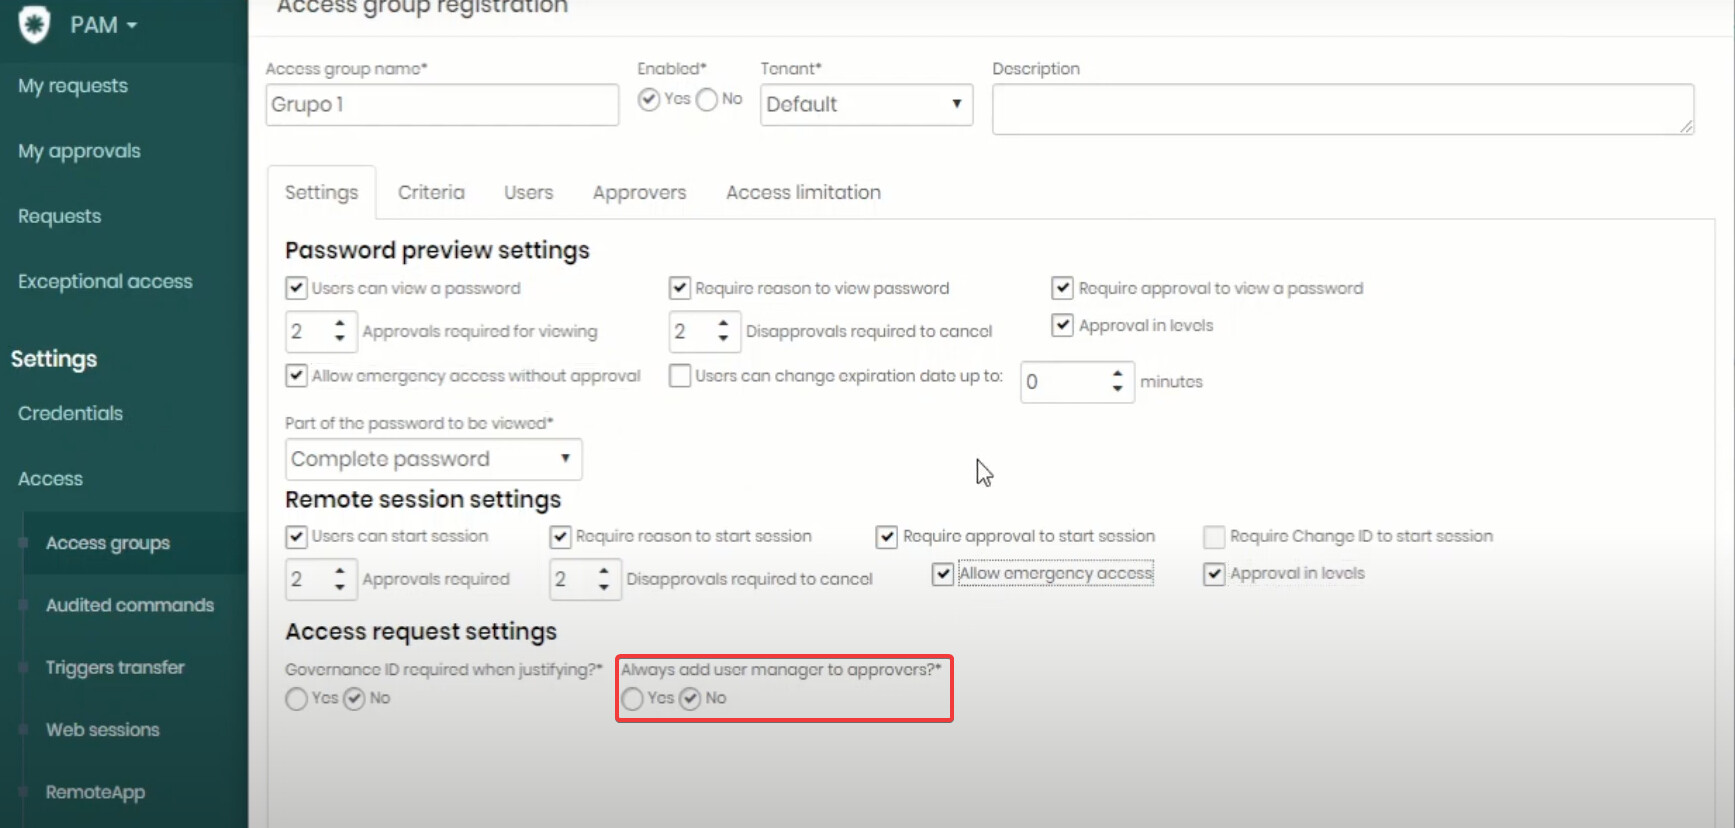
8. Activate the user’s manager participation in these approvals, if desired.
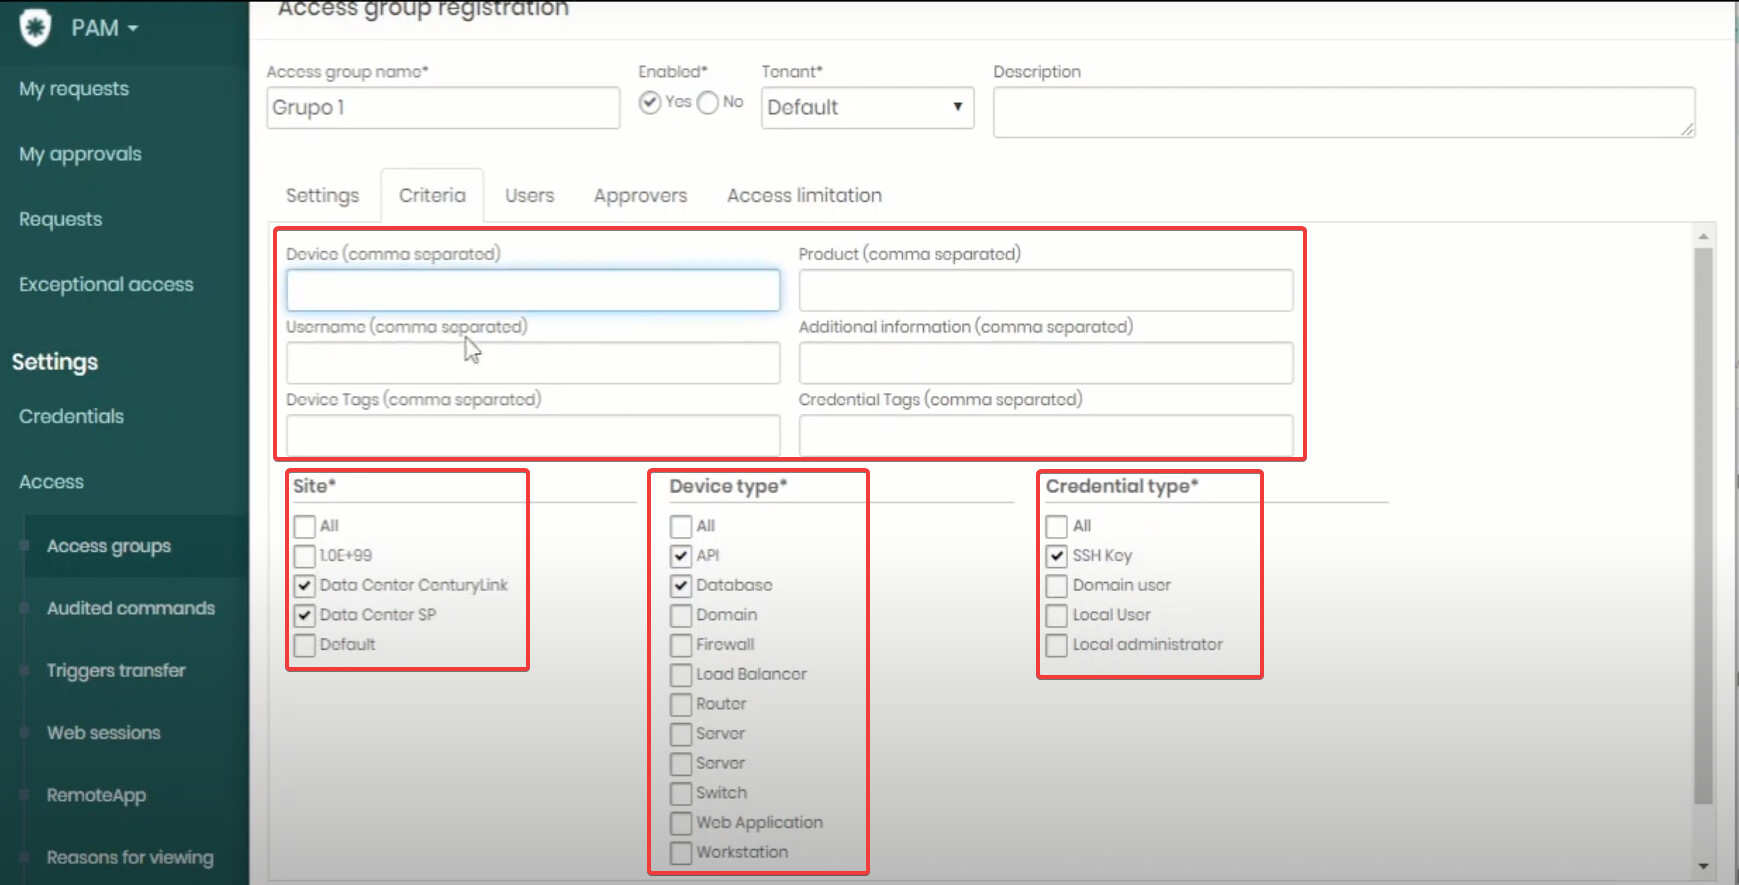
9. In the “Criteria” tab, determine which devices and credentials will be accessed by the users of this access group. You can specify the device, product, credential, and tag, as well as limit by site, device type, and credential.
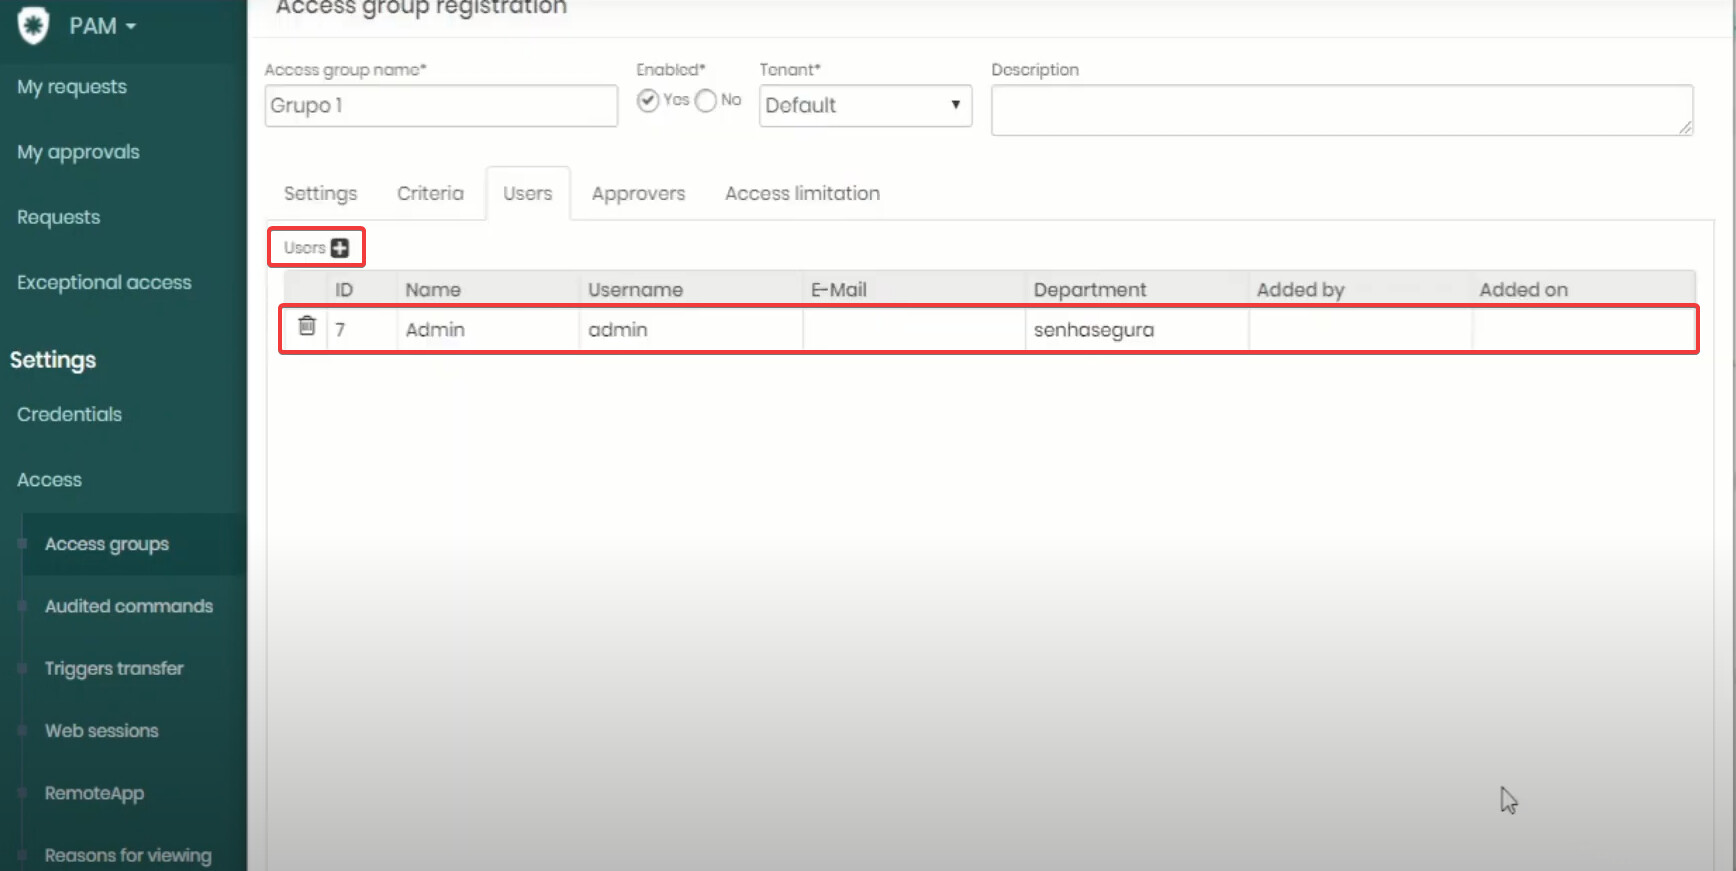
10. In the “Users” tab, add the users who will use the access group.
11. In the “Approvers” tab, add the approvers with their respective approval levels determined in the configuration tab, if configured.

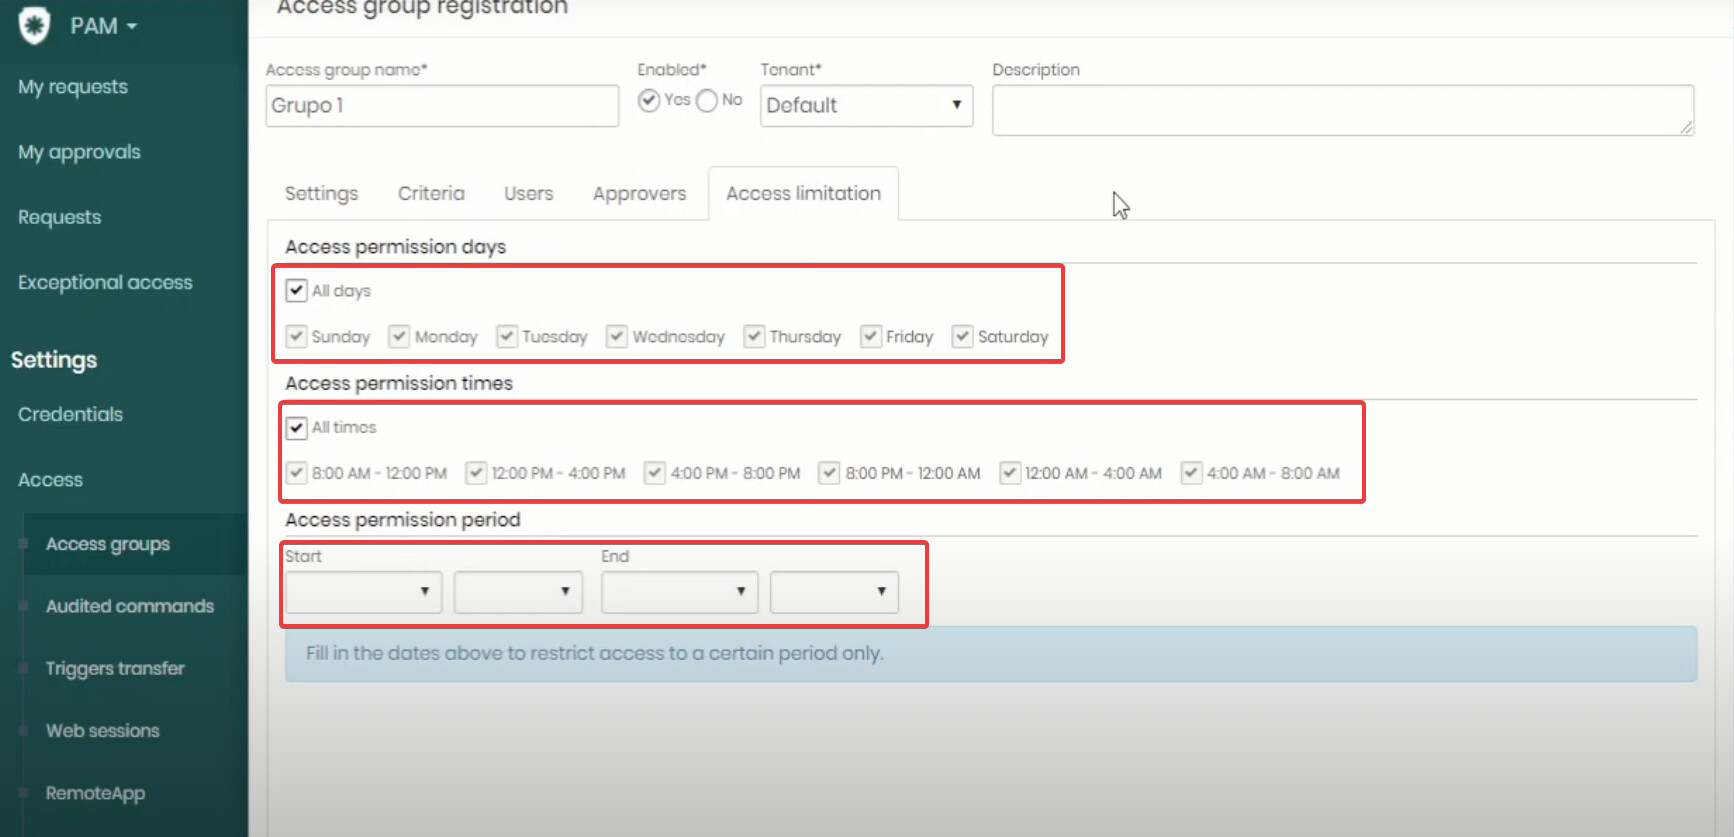
12. In the “Limited Access” tab, you can configure the days and periods of access, as well as limit the period in which it will be active, with the initial and final date.
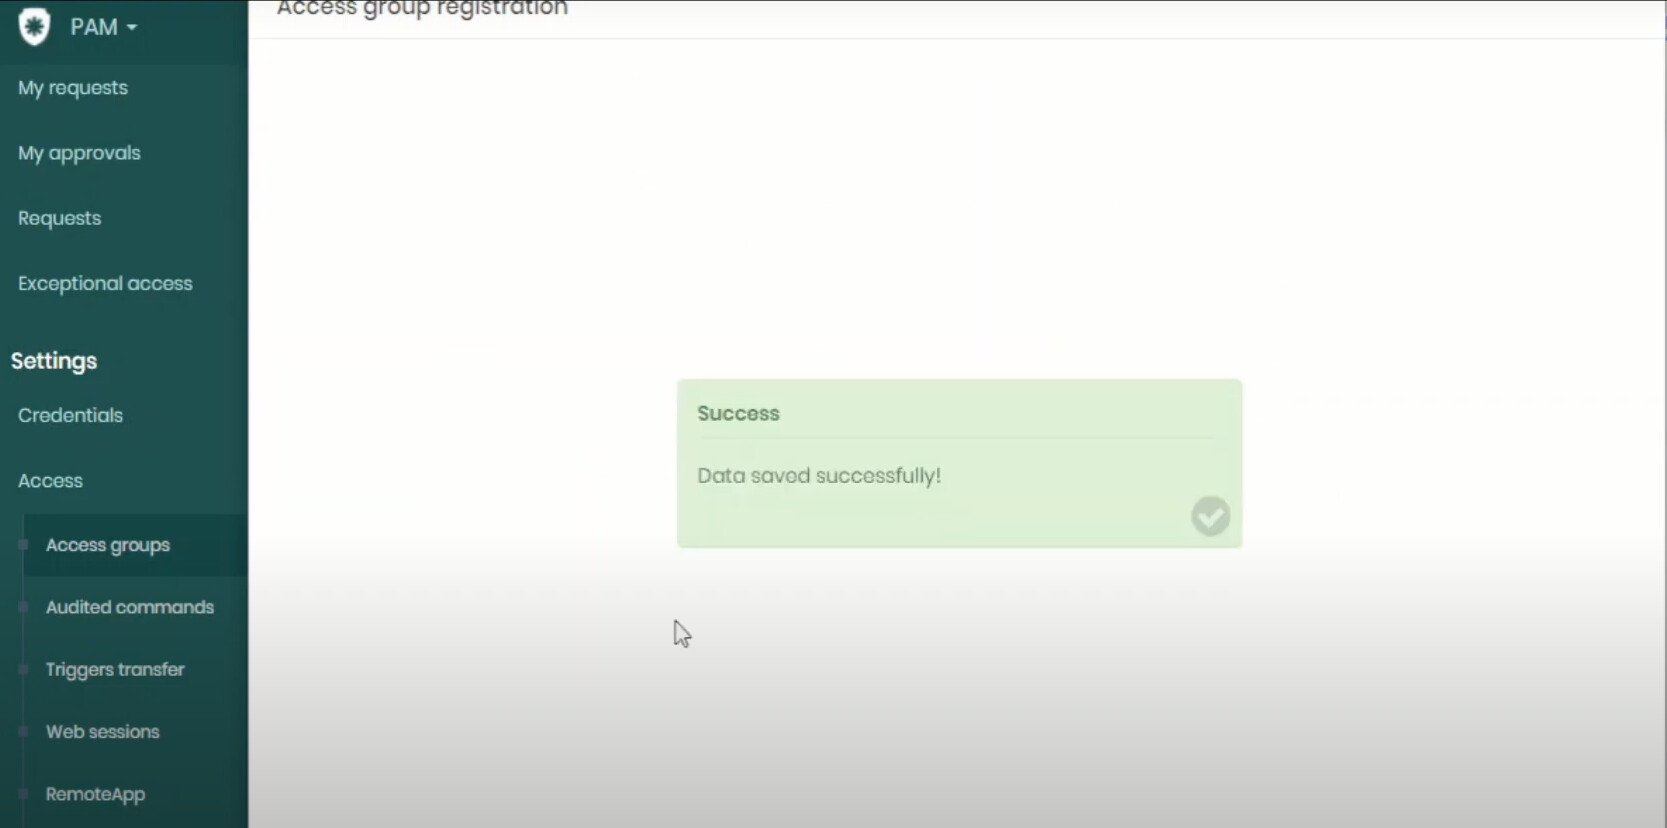
13. After configuring all fields, click “Save”.