![]() WARNING
WARNING
After an update it is necessary to repeat these steps.
1. To create certificate request .csr and .key:
openssl req -new -sha256 -nodes -out [Certificate’sName].csr -newkey rsa:2048 -keyout [Certificate key name].key -config <(
cat <<-EOF
[req]
default_bits = 2048
prompt = no
default_md = sha256
req_extensions = req_ext
distinguished_name = dn[ dn ]
C=[insert country]
ST=[insert state/province]
L=[insert city]
O=[insert organization’sName]
CN = [insert Login url][ req_ext ]
subjectAltName = @alt_names[ alt_names ]
DNS.1 = [insert domain’s name]
DNS.2 = [insert domain’s name 2, if it exists]
DNS.3 = [insert domain’s name 3, if it exists]
EOF
)
![]() Remark: The self-signed certificate will always be identified as unsafe by the browser. We recommend using a trusted CA, however it is possible to use a self-signed certificate.
Remark: The self-signed certificate will always be identified as unsafe by the browser. We recommend using a trusted CA, however it is possible to use a self-signed certificate.
openssl x509 -in [Certificate’sName].csr -out[Certificate’sName].crt -req -signkey [Certificate key name].key -days 365
2. If the files were not created within senhasegura, it is necessary to bring the .crt and the .key into senhasegura.
3. Check the files in the default folder where the certificates are stored, for that, run the command:
ls -lh /etc/xrdp/certs
4. It is necessary to modify the name of the created files, senhasegura reads only files with the default name “server.crt” and “server.key”. It will be necessary to change the name of the old files, if you wish, you can delete, rename or store them elsewhere.
5. After performing the previous step, rename the files according to the appropriate format:
server.crt
server.key
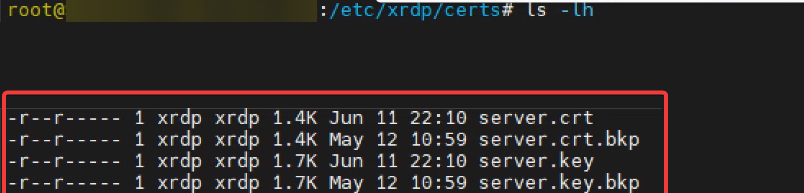
As a suggestion, rename the old file and add “.bkp”, according to the example above.
5. Restart the xrdp (Remote Desktop Protocol) service with the command below:
systemctl restart xrdpd