Remark - senhasegura may need firewall releases on the following ports:
• 80 (HTTP);
• 443 (HTTPS);
• 59022 (SSH);
• 22 (Proxy SSH);
• 3389 (Proxy RDP).
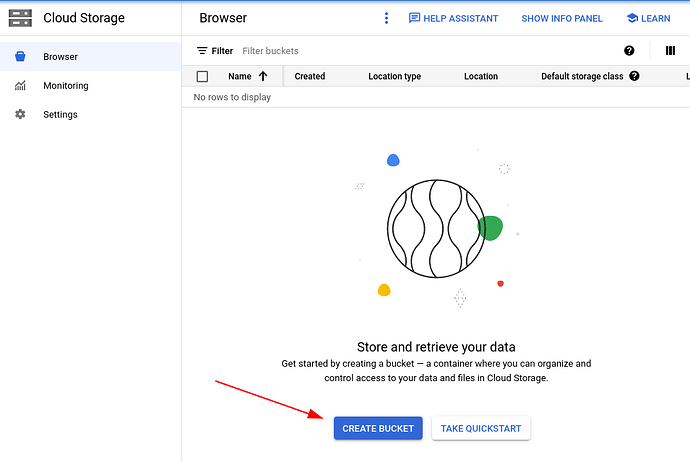
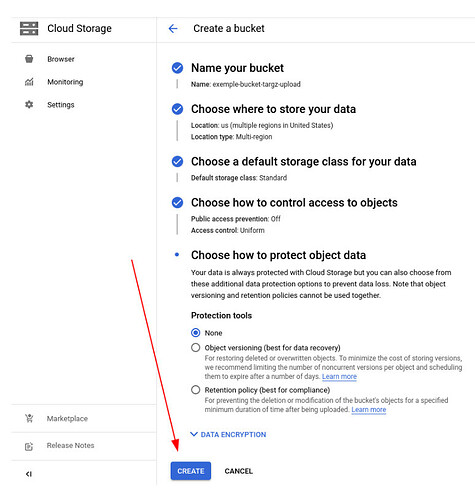
1. Create a Cloud bucket by going to Storage → Create Bucket and parameterize it according to your preferences, needs and policies. If you already have a bucket created, skip this step.
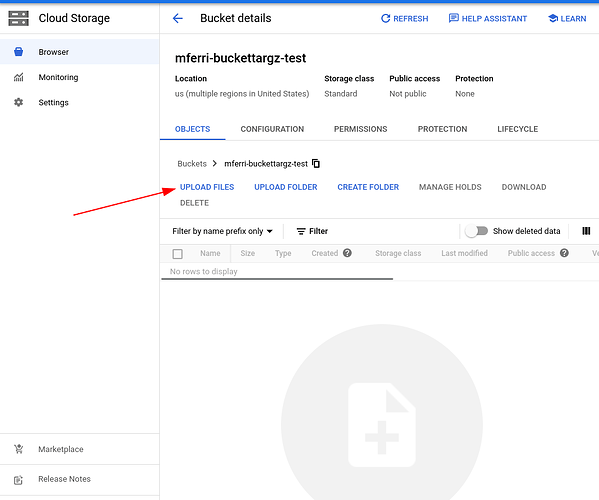
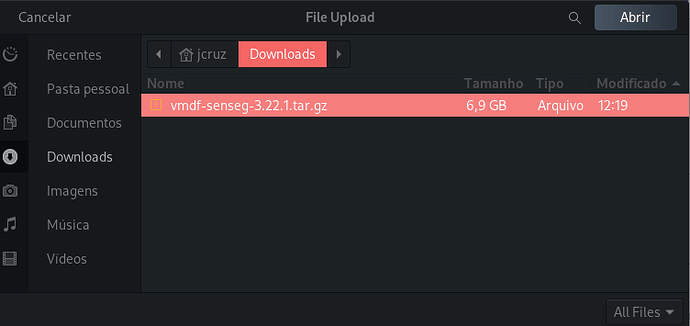
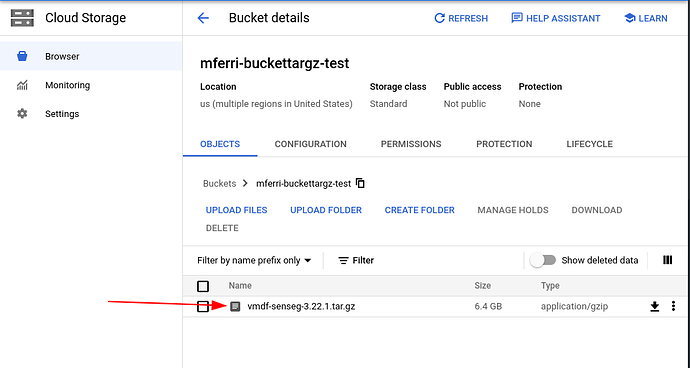
2. After defining the Cloud Storage bucket, upload the .tar.gz file in Cloud Storage → Upload File.
3. After defining the Cloud Storage bucket, upload the .tar.gz file in Cloud Storage → Upload File.
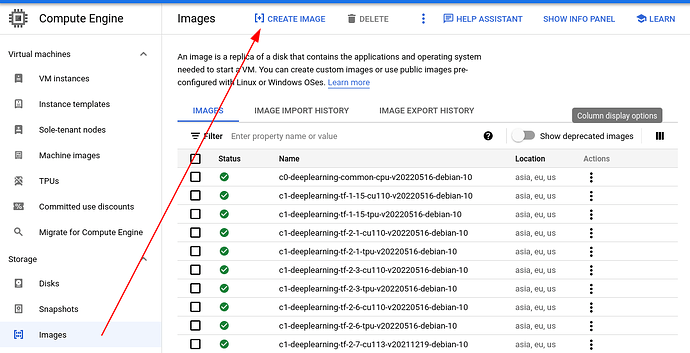
4. Access Compute Engine → Images → Create Image and create a disk image from the .tar.gz file.
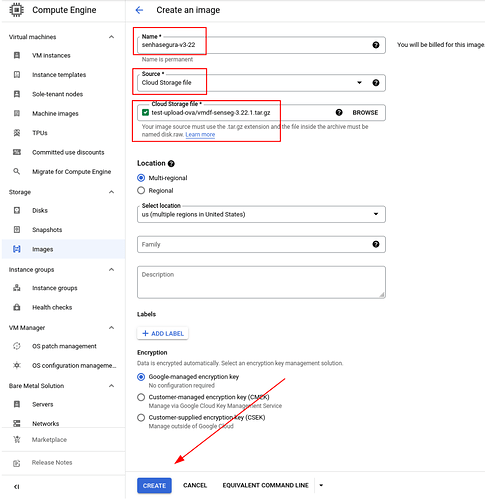
5. Set the image name, choose the “Cloud Storage File” source, select the .tar.gz file and then click “Create”.
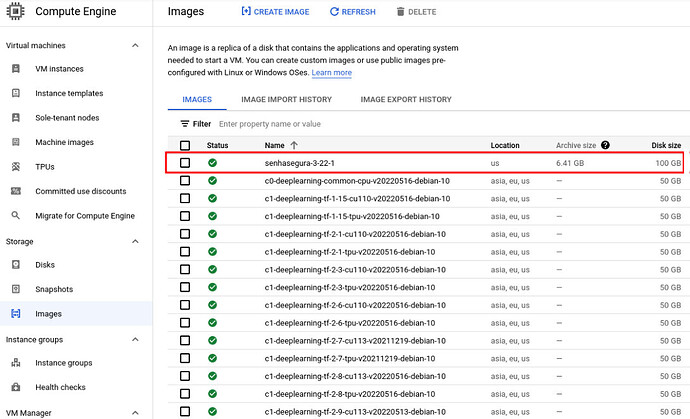
6. Wait for the creation to finish, the disk image will be displayed in the listing.
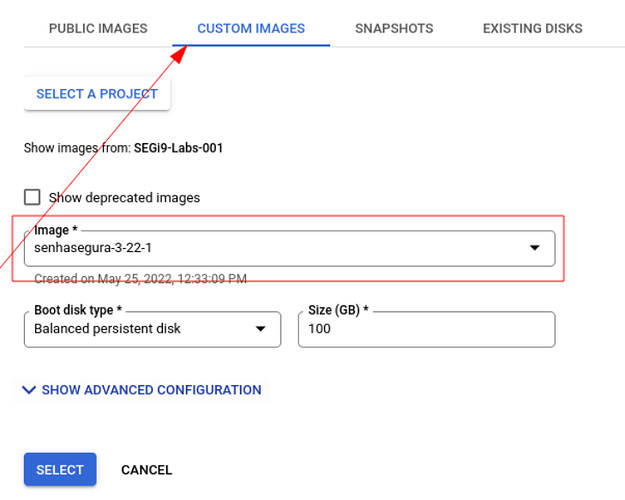
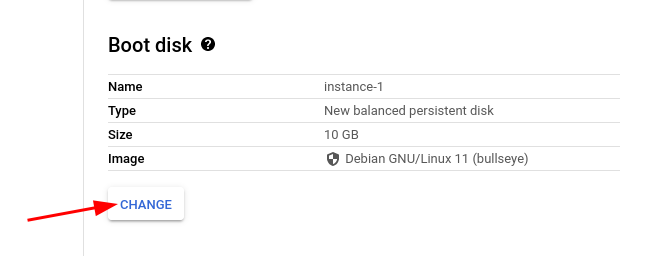
7. With the image created, create a new instance in Compute Engine → VM Instance → Create Instance. Under “Boot Disk” select “Custom Image”, the project where the image was created, and then select the newly created disk image. Set other VM parameters and policies as per the organization’s needs.
8. The VM will be displayed in the instance listing after creation.
